With an AWS Copilot, Give Kubernetes a Second Thought
- #software

Who Cares?🔗
Kubernetes is a fantastic container orchestration tool for scalable cloud computing applications. After years of development and use internally, Google open-sourced the tool in 2014, leading to an explosion of adoption from small businesses and enterprises alike. That being said, we don't always need all of its batteries included. Although it provides a relatively convenient declarative interface via YAML configuration files, a solo developer or small team still has numerous details to worry about for deployment, such as the following:
- Virtual private cloud (VPC)
- SSL certificate
- Load balancer
- Container registry
All of these details are crucial for managing a cloud solution, and some focus on this area as their main job. However, others want to focus on the application itself.
In many small projects, you don't have a complex 80-bajillion-container behemoth requiring Kubernetes for orchestration. I don't have stats for this, but I bet most proof-of-concept projects consist of 1-4 containers (Aside: sounds like a fun project to parse Github/Docker Hub to find out). For these projects, having a rather straight-forward way to tell your cloud provider "hey, here's a container image. Put this up in the sky and charge me for what it consumes" would suffice.
Enter ECS, with its convenient new CLI copilot.
From App to Deploy, Fast🔗
I put together a demo application to drive this process and allow for you to quickly see it in action. For the doers, you can find the link in the Resources section below. Let's take an off-the-shelf sentiment analyzer from the NLTK library, and serve sentiment scores for text inputs using my new favorite python API library: FastAPI. There is absolutely no need for me to give an overview of FastAPI, because one of the following fits your case:
- You already know and love it
- You are about to, via its great documentation
Remembering, application developers mainly care about 1) the application code and 2) the container it sits in. Well, here they are.
There's a Makefile with some convenience goodies as well, but I won't throw that in your face. Check it out here if you're curious.
Now that we have our app, the deploy sequence is as simple as something like below.
For those curious about seeing inside of the flow of the copilot commands above, check out the show below, taken from Efe Karakus's article on the AWS blog.

You may be wondering how this compares to the canonical kube apply -f deployment.yml, thinking that it's more commands to achieve the same thing. Remember that the commands above will set up both your [infrastructure and application]{style="text-decoration:underline"}. Therefore, the equivalent comparison for a Kubernetes application would be to combine all of the infrastructure-as-code (IaC) setup with the Kubernetes config files. That...is much more work.
We're Live🔗

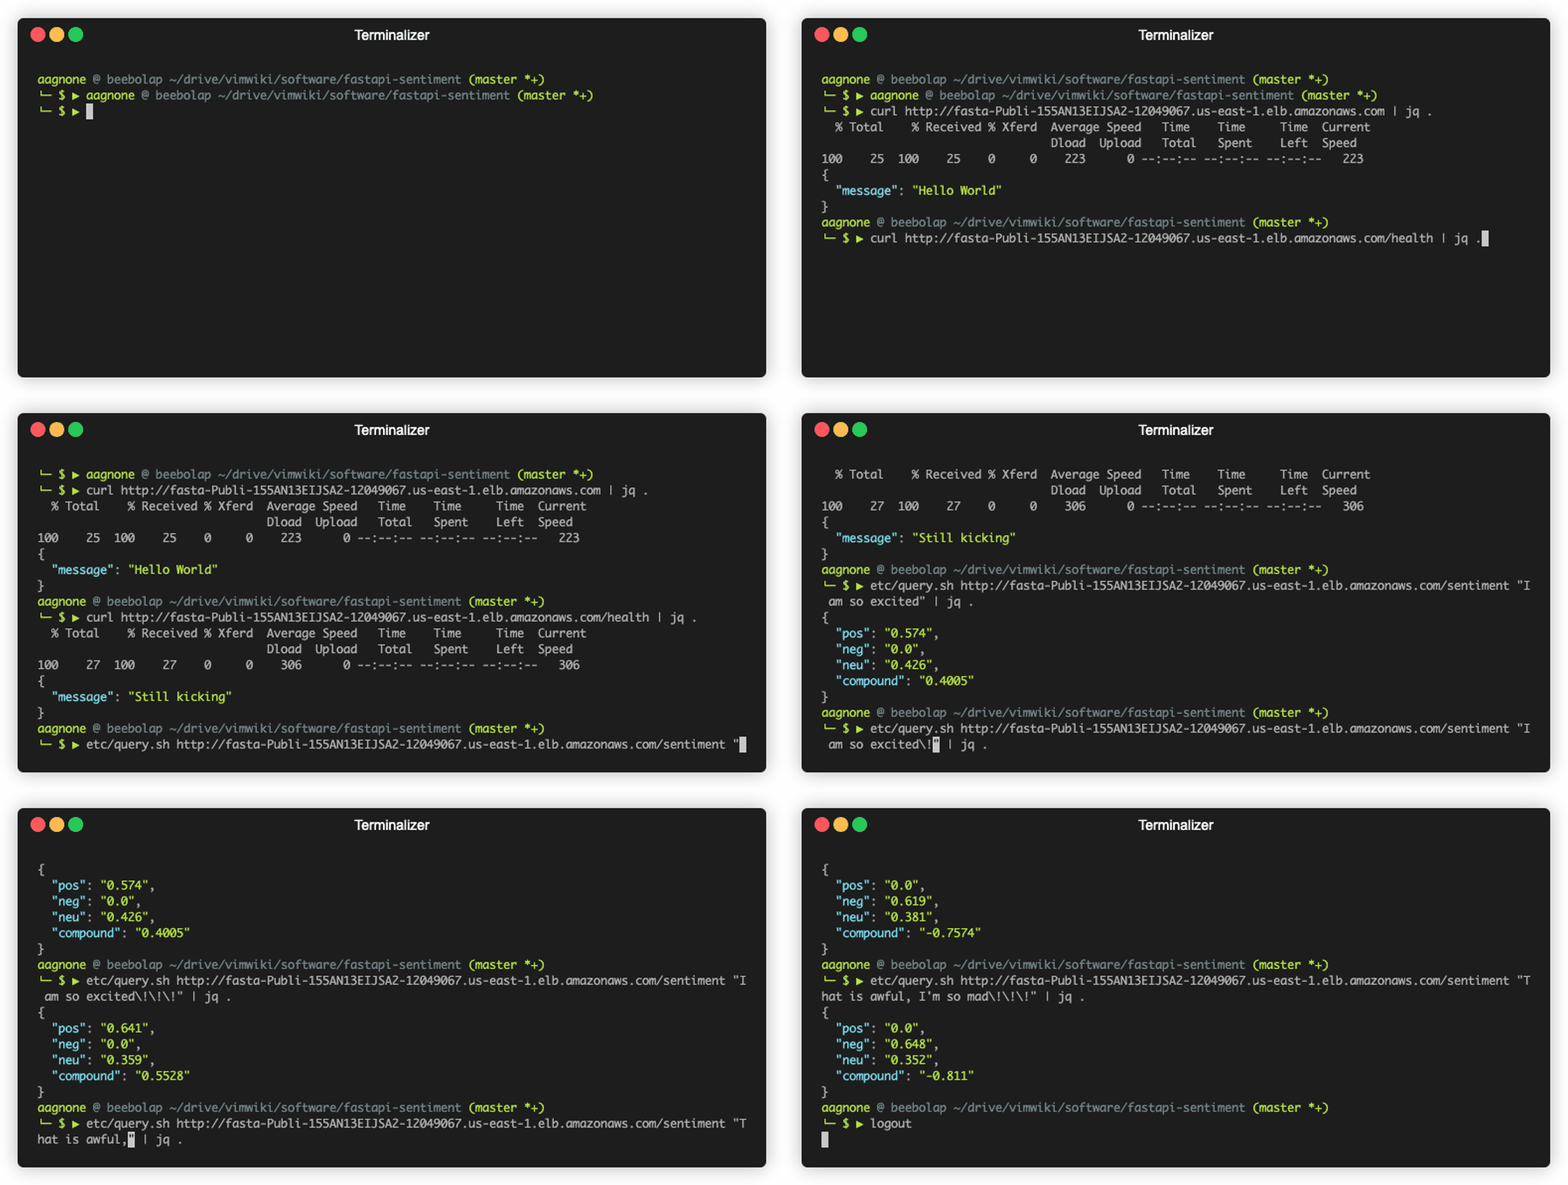
With those few commands, our application is now publicly available (if you so choose) for prime time. Not bad for a few lines of code. All of this time saved can now be used for more prototyping, testing, or playing with your cat.

This demo only scratches the surface of what ECS and copilot can and will do. There are resources for pipelines, planned integrations with docker-compose, and simple options for CI/CD integration. For more reading, check out the resources below.
